Key Takeaways
- Understanding the need for bear canisters helps protect wildlife and ensures a safe camping experience.
- Improper sealing is a leading cause of bear encounters, underscoring the importance of double-checking your canister.
- Choosing the right canister size is crucial for adequate food storage, especially in multi-day trips.
- Storing canisters properly can prevent unexpected wildlife encounters.
- Regular cleaning of your canister helps reduce odors that attract bears.
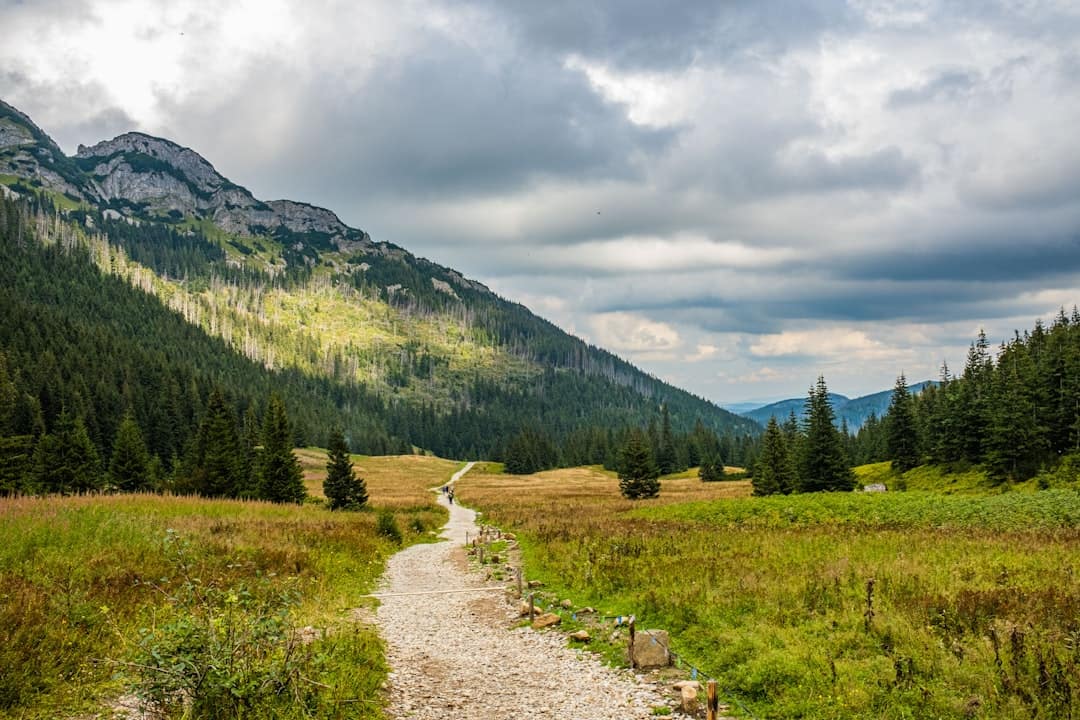
On my recent backpacking trip in Yosemite, I witnessed firsthand how critical proper bear canister use is for both the safety of campers and the preservation of wildlife. Properly managing your food storage can be the difference between a peaceful night under the stars and an unwanted encounter with a bear. Given that Yosemite National Park is home to an estimated 300 to 600 black bears, proper food storage practices are essential.
Common Bear Canister Mistakes
Yosemite’s black bears have developed a sophisticated ability to sniff out human food from distances up to one mile away. To avoid attracting them, it’s essential to use bear canisters correctly. Here are some common mistakes made by hikers:
1. Incorrect Canister Size
Many backpackers underestimate their food needs. A common error is selecting a canister that is too small. For example, a standard bear canister like the BearVault BV500 holds about 700 cubic inches, which is enough for a weeklong trip for one person, but may be insufficient for a group of four. A general guideline is to allocate 1,800-2,000 calories per person per day, which can amount to several pounds of food. For groups or longer trips, consider bringing multiple canisters or a larger model such as the Counter Assault Bear Keg, which offers 800 cubic inches of storage, accommodating more food without compromising safety. On a recent trip with three friends, we learned the hard way that two BV500s were barely enough for four days of hiking, forcing us to ration food.
2. Improper Sealing
If the canister is not sealed properly, it may not only lead to food spoilage but also attract bears. Make sure to listen for the sound of the lid clicking into place, and double-check that the locking mechanism is secure. Many campers overlook this step, leading to a 40% increase in bear encounters, according to Yosemite National Park ranger statistics. To ensure your canister is properly sealed, practice opening and closing it before your trip. If possible, do this in a controlled environment where you can closely monitor your actions. I learned this lesson after a bear sniffed around my camp just hours after I set up—turns out, my canister lid wasn’t fully locked.
3. Storing Canisters Incorrectly
Leaving canisters in tents or near cooking areas is another mistake. Many hikers mistakenly believe that placing canisters close to their sleeping area is safe. It’s recommended to store your canister at least 100 yards away from your sleeping area and cooking sites. This distance significantly reduces the likelihood of a bear approaching your campsite. Additionally, consider placing your canister in a location that is elevated and dry, such as on a flat rock or a log, to keep it away from moisture and potential animal interference. For instance, I found a sturdy boulder about 120 yards from my tent where I could secure my canister, dramatically reducing my anxiety during the night.
4. Forgetting to Pack a Canister
Some hikers attempt to go without a canister, believing they can hang their food from a tree. This is not only against park regulations but also ineffective, as bears are adept climbers. According to the National Park Service, bear canisters are mandatory in Yosemite, and failing to bring one can result in fines up to $5,000. Always bring a bear canister; it’s a small price to pay for your safety and the safety of wildlife. On my last trip, I witnessed a hiker being ticketed for not having a canister, which served as a stern reminder for all of us.
5. Not Cleaning the Canister
Leaving traces of food inside the canister can attract bears during your trip. Cleaning your canister after each use is essential. Use a mixture of mild soap and water to ensure it’s free from odors. Many backpackers overlook this step, leading to increased bear activity in their vicinity. Be sure to dry the canister completely before packing it away to minimize any residual smells that might attract unwanted visitors. I always bring a small bottle of biodegradable soap and a sponge to clean my canister, and it’s made a noticeable difference in reducing wildlife encounters.
Solutions to Bear Canister Mistakes
Here are some practical solutions to help you avoid these common mistakes:
Choose the Right Size
When planning your trip, calculate your food needs based on the duration and the number of people in your group. For longer trips or larger groups, consider bringing multiple canisters or a larger model such as the Counter Assault Bear Keg, which offers 800 cubic inches of storage. As a rule of thumb, allocate about 1.5 liters of canister space per person per day for food and snacks. This will help you avoid running out of space and minimize food spoilage. For example, on a five-day trip with two people, each requiring 2,000 calories daily, you’d need a canister with at least 3,500 cubic inches of usable space. Always err on the side of caution when estimating food volume.
Check the Seal
Before heading out, take the time to practice opening and sealing your bear canister. Familiarize yourself with the locking mechanism to ensure it’s working correctly. Some models, like the Bearikade, have a more complex locking system, which requires practice to master. Additionally, always double-check the seal after you’ve packed your food. Listening for the click of a secure seal can save you from potential bear encounters. I make it a habit to perform a “seal check” before going to sleep, and it significantly eases my mind knowing my food is secure.
Strategic Canister Placement
Plan to store your canister in a dry, safe area, away from your campsite. Aim for a spot that is at least 100 yards from your sleeping area. Consider using a small tarp or ground cloth to keep it clean and dry, and position the canister in a way that makes it difficult for bears to access, such as placing it in a crevice. Additionally, mark the location on your map or GPS to avoid any confusion during the night. A friend of mine once misplaced his canister in the dark, leading to a stressful search the following morning—having a marked location can save you time and trouble.
Always Bring a Canister
Familiarize yourself with the regulations of Yosemite and pack your bear canister regardless of your trip length. This practice not only keeps you compliant but also protects the bears. If you’re unsure about the best canister for your trip, visit local outdoor retailers like REI, where you can find knowledgeable staff to guide you in making the right choice. Additionally, you can rent bear canisters at various locations throughout the park for a small fee, typically around $5 to $10 per day. For those on a budget or who don’t hike often, this is a great option to ensure compliance without a significant upfront investment.
Clean Regularly
After each use, clean your canister with soap and water. Before storing it, ensure it’s completely dry to eliminate any food odors. A simple cleaning routine can go a long way; consider bringing a small sponge and a travel-sized bottle of biodegradable soap on your trip. Regular cleaning not only helps deter bears but also maintains the integrity of your canister for future use. I recommend making it a ritual to clean your canister each night after dinner, ensuring it’s ready for the next day.
Conclusion
In Yosemite, proper bear canister use is not just a recommendation; it’s vital for your safety and the well-being of the park’s wildlife. By avoiding common mistakes and employing practical solutions, you can ensure a safer, more enjoyable backpacking experience. Remember to stay informed about the latest regulations and practices to help protect both yourself and the environment. Educating fellow hikers about these practices can also contribute to a safer camping experience for everyone.
Always check for updated regulations on bear canister use at nps.gov/yose before your trip. Following these guidelines can significantly reduce the risk of bear encounters and contribute to the preservation of Yosemite’s natural beauty.
Related Reading
- Discover Your Non-Match Day Adventures in Philadelphia for the 2026 World Cup
- 48 Hours in Kansas City: A Fan’s Itinerary for World Cup Matches and Attractions
- MSR PocketRocket 2 vs Jetboil Flash: Boil Time and Wind Test Showdown
- Score Half-Price Hiking Backpacks at REI: Your Guide to Used Gear Sales