Key Takeaways
- Sending an SOS can be done with a satellite messenger or iPhone.
- Understand the information sent with an SOS and how to prepare for emergencies.
- Pre-trip testing ensures your devices work when needed.
- Know the false alarm cancellation process to avoid unnecessary rescues.
- Stay calm and prepared while waiting for help.
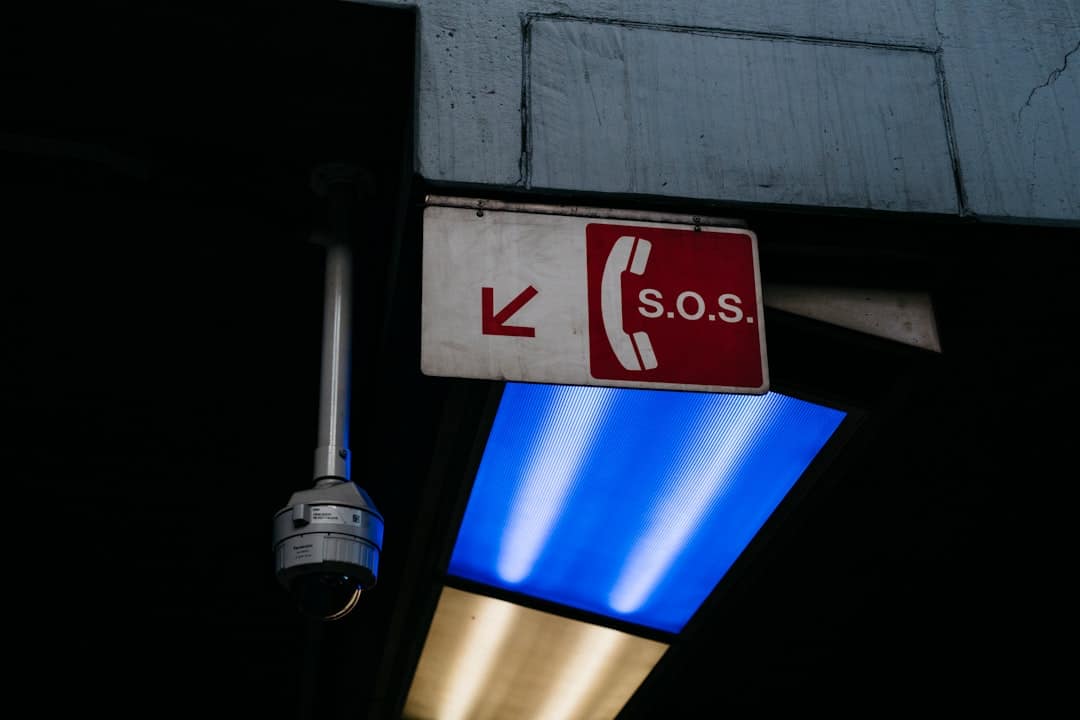
How Can You Send an SOS Without Cell Signal?
If you find yourself in a remote area without cell service, knowing how to send an SOS is crucial. After 5+ years of weekend backpacking in the Rockies, I’ve learned that having the right gear and knowledge can make a significant difference in emergencies. With the right satellite messenger or smartphone technology, you can communicate your distress signal effectively.
Steps to Trigger an SOS with a Satellite Messenger
- Power On the Device: Ensure your satellite messenger, like the Garmin inReach Mini 2 (MSRP: $349.99, weight: 3.5 oz) or ZOLEO (MSRP: $199.99, weight: 3.5 oz), is powered on and has a clear view of the sky. Check battery levels; these devices can often last up to 14 days on a single charge depending on usage.
- Access the SOS Feature: Navigate to the emergency SOS button, usually marked as ‘SOS’ on the device’s menu. Familiarize yourself with the device’s interface before heading out, as it may vary between models.
- Initiate SOS: Press and hold the SOS button for the recommended duration (typically 3 seconds) until you receive a confirmation message or hear an audible alert. This feedback is crucial to know your distress signal has been sent successfully.
- Information Sent: Your location (using GPS coordinates), the device ID, and a default message indicating you need help are automatically transmitted to the monitoring center. For instance, Garmin inReach users have the option to customize their SOS message beforehand, allowing for more specific details about the situation.
- Wait for Response: Remain in your location unless you are in immediate danger. Keep your device active and maintain a clear view of the sky to ensure satellite connectivity. Typically, monitoring centers will attempt to contact you via your device or send a rescue team within 30 minutes of receiving the SOS.
- False Alarm Cancellation: If you accidentally trigger the SOS, follow the device’s instructions (usually a specific button press) to cancel the SOS. It’s important to do this quickly to avoid mobilizing rescue teams unnecessarily. For example, with the inReach Mini, pressing the SOS button again for 3 seconds will cancel the alert.
- Prepare for Help: Make yourself visible and stay where you are. If possible, set up a signal (like a reflective blanket) to aid rescuers. Utilize bright clothing or a whistle to attract attention. If you have a firestarter, creating a signal fire can be effective as well.
- Document the Event: After the incident, note the time and circumstances of the SOS activation for future reference, including any messages received from rescuers. This documentation can be useful for insurance claims or post-incident analysis.
Steps to Trigger an SOS with an iPhone
- Activate Emergency SOS: On your iPhone (iPhone 14 models and later), press and hold the side button and one of the volume buttons until the Emergency SOS slider appears. This method also works on older models, but the steps may vary slightly.
- Slide to Call: If you have cellular service, slide to call emergency services. If no signal, the SOS feature will attempt to use satellite connectivity, allowing you to send a distress signal even without cell service.
- Share Location: Ensure location services are enabled. Your device will share your last known location with emergency services. This feature can be crucial, as rescuers will be able to pinpoint where you were last active.
- Wait for Response: As with satellite messengers, stay put and remain calm while help is on the way. Keep your phone turned on and avoid draining the battery with unnecessary usage.
- Cancel SOS if Needed: If the SOS was triggered accidentally, you can cancel it by tapping the stop button on the screen. Be aware that if the call has already been connected to emergency services, you may need to explain that it was a false alarm.
What Information Gets Sent with an SOS?
When you send an SOS with a satellite messenger, the following information is typically transmitted:
- Your exact GPS coordinates, which are crucial for rescuers to find you.
- The device ID, which allows the monitoring center to identify you and your account.
- A default message indicating that you need assistance, which can include any pre-set details about your situation, such as injuries or environmental hazards.
What to Do While Waiting for Help
After sending an SOS, follow these steps:
- Stay in place unless there’s an immediate threat, such as rising water or wildlife encounters.
- Make yourself visible by wearing bright clothing or setting up a signal. If you have a reflective emergency blanket or signaling mirror, use them to catch the attention of rescuers.
- Conserve your phone or device battery by limiting unnecessary usage. Turn off non-essential apps and use airplane mode if you are not expecting further communication.
- Monitor your surroundings for any potential rescue personnel or signs of search operations. If you hear aircraft or see search teams, make noise or use signaling methods to attract their attention.
Always have a reliable satellite messenger and test it before your trip. Emergency situations can arise unexpectedly, and preparedness is key.
Pre-Trip Testing
Before heading out, conduct a complete test of your satellite messenger:
- Ensure the device is fully charged: Check that your satellite messenger is at least **80% charged** before your trip, and consider bringing a portable charger if you are going on an extended journey.
- Test the SOS function: In a non-emergency situation, simulate an SOS activation to ensure it works correctly. This will also familiarize you with the device’s operation.
- Familiarize yourself with the interface and features: Spend time learning how to navigate the menu, send messages, and use additional features such as tracking and location sharing.
When to Turn Back or Seek Help
If you encounter a situation where:
- Your GPS is malfunctioning: If your device is not displaying accurate coordinates or is unable to connect, it may be time to turn back, especially in unfamiliar terrain.
- Weather conditions worsen significantly: Be particularly cautious of conditions like high winds (sustained winds over **30 mph**), lightning, or heavy rain that can increase risk.
- You sustain serious injuries: If you or a member of your group is unable to continue due to injury or illness, prioritize safety and seek help as soon as possible.
In these cases, prioritize your safety and seek help as soon as possible. Remember that it is better to turn back sooner than to push onward and risk further complications.
Related Reading
- Is Your iPhone Enough? Evaluating Satellite Messengers in 2026
- Navigating the Trail in Extreme Heat: Signs of Heat Stroke and Prevention Tips
- Mastering the 2026 Vehicle Reservations for Going-to-the-Sun Road in Glacier National Park
- Comparing the Best Offline Hiking Map Apps of 2026: Gaia GPS, onX Backcountry, CalTopo, and OsmAnd
One thought on “How to Trigger an SOS Without Cell Signal: A Step-by-Step Guide”